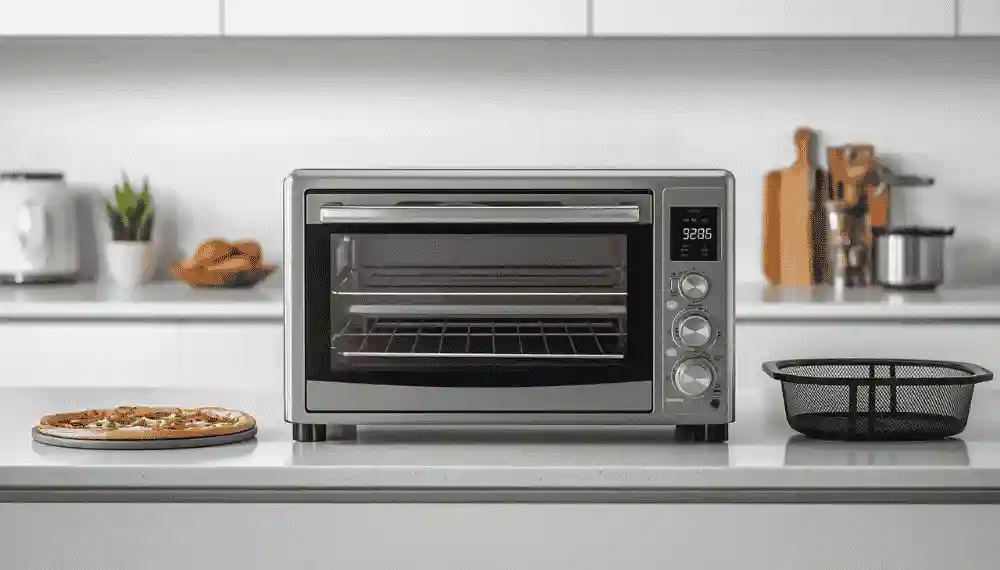
There's a moment most people have after buying a toaster oven — they unbox it, place it on the counter, and then just stare at it. The dial has nine settings. The rack fits in three positions. The manual is twelve pages and written in four languages, none of which seem to clearly answer the obvious question: where do you even start?
The good news is that toaster ovens are genuinely simple once a few core things click into place. They work differently from a full-size oven in ways that actually make them more forgiving — not harder — once a person understands what is happening inside. This guide walks through everything a first-time user needs to know, based on real hands-on testing across multiple countertop models in a home kitchen environment.
First, Understand What a Toaster Oven Actually Does Differently
A full-size oven heats a large cavity with heating elements typically located at the top and bottom. Because that cavity is so big, it takes time for the heat to distribute evenly — which is why most recipes ask for preheating for 15 to 20 minutes.
A toaster oven works in a much smaller space. The heating elements — usually two on top and two on the bottom — are only a few inches from the food. That proximity is what makes toaster ovens fast. But it is also what catches people off guard. Food sitting too close to the top elements can brown or burn before the inside is cooked through. Food placed too low may not brown at all on top.
The first real skill in using a toaster oven is understanding that rack position matters far more than it does in a standard oven.
Thing 1: Do the First Burn-Off Before Cooking Anything
Every new toaster oven needs to be run empty the first time. Manufacturers coat the heating elements and interior walls with a light protective oil during production. If a person skips the burn-off and puts food in immediately, that food will pick up a faint but noticeable factory smell and taste.
The process is straightforward. Set the oven to its highest bake setting — usually 450°F or 500°F — and run it empty for 15 to 20 minutes with the kitchen well-ventilated. There will be some light smoke and a distinct smell. That is normal. After the burn-off is complete, let the oven cool entirely before using it for actual cooking.
This step is almost never mentioned in the quick-start guide that comes in the box, but it consistently makes a difference in how the first few meals taste.
Thing 2: Rack Position Is the Most Important Setting Nobody Talks About
Open any toaster oven and the rack will slide into two or three different positions. Most people leave it in the middle and wonder why their toast is pale on top or why their frozen pizza has a burnt bottom. The rack position is doing more work than any dial on the front panel.
Here is how to think about it practically:
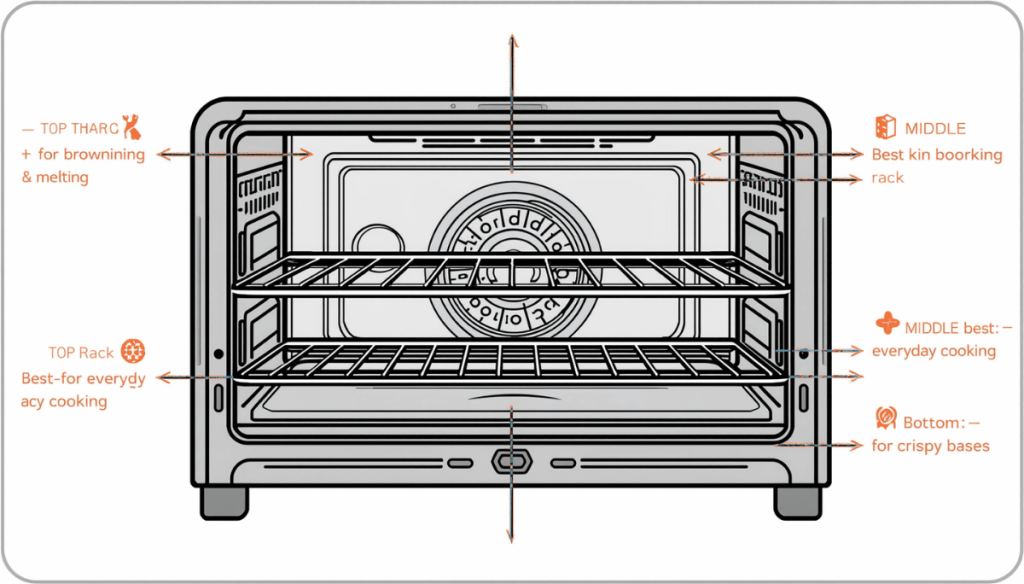
Middle rack is the default for most baking — cookies, casseroles, reheated leftovers, frozen meals. Heat circulates more evenly here, and food stays far enough from both the top and bottom elements to cook through without burning.
Top rack (close to the top elements) is for anything that needs browning or crisping on the surface — melting cheese on toast, finishing a gratin, browning the top of a dish that is already cooked through. Use this position carefully and watch the food. At this distance from the elements, the difference between golden-brown and burnt can be thirty seconds.
Bottom rack (if the oven has three positions) works well for foods that need a crispier bottom — thin-crust pizza, flatbreads, or items where a soggy base is the problem. The bottom elements drive heat directly upward through the rack.
The simplest rule: when in doubt, start in the middle. Move up only if the top needs more browning at the end.
Thing 3: The Temperature Runs Hotter Than the Dial Says
This surprises almost every first-time user. A toaster oven set to 350°F is very likely running at 365°F or 375°F — sometimes hotter. This is not a defect. It is simply how small-cavity ovens behave. The proximity of the elements to the thermostat sensor makes precise temperature regulation more difficult than in a large oven.
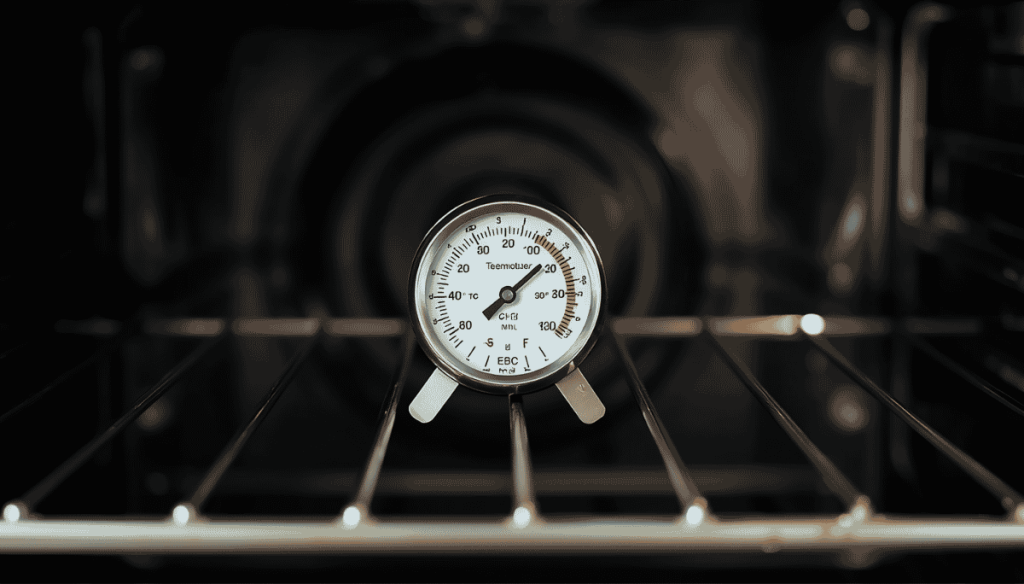
Testing multiple countertop models with an oven thermometer consistently shows that toaster ovens read 15°F to 30°F hotter than their dial setting at most temperature ranges.
What this means in practice: reduce the temperature called for in a recipe by about 25°F when using a toaster oven for the first time. If a recipe calls for 375°F, set the oven to 350°F and check early. Most items also finish faster — subtract about 10 to 15 percent from the suggested cook time and begin checking then rather than at the time listed.
A small oven thermometer — available for a few dollars at any kitchen store — is one of the most useful things a toaster oven owner can have. Hang it on the rack, run the oven to the target temperature, and see exactly what the actual temperature is. After a few cooks, the adjustment becomes automatic.
Thing 4: Use the Right Pan or Tray for the Job
One of the most common mistakes is placing food directly on the wire rack for things that release liquid or fat. This is fine for dry items — a slice of bread, a bagel, a piece of reheated pizza — but anything with juices or fat will drip onto the heating elements and create smoke, smell, and occasionally small flame flare-ups.
For anything that releases moisture or fat — chicken, fish, vegetables tossed in oil, anything with a sauce — always use a pan or tray that fits the oven. Most toaster ovens come with a baking pan. Use it. If the included pan is flimsy, a quarter-sheet pan is the ideal size for most countertop models and is the most used piece of equipment in serious toaster oven cooking.
A few practical pan rules for first-time users:
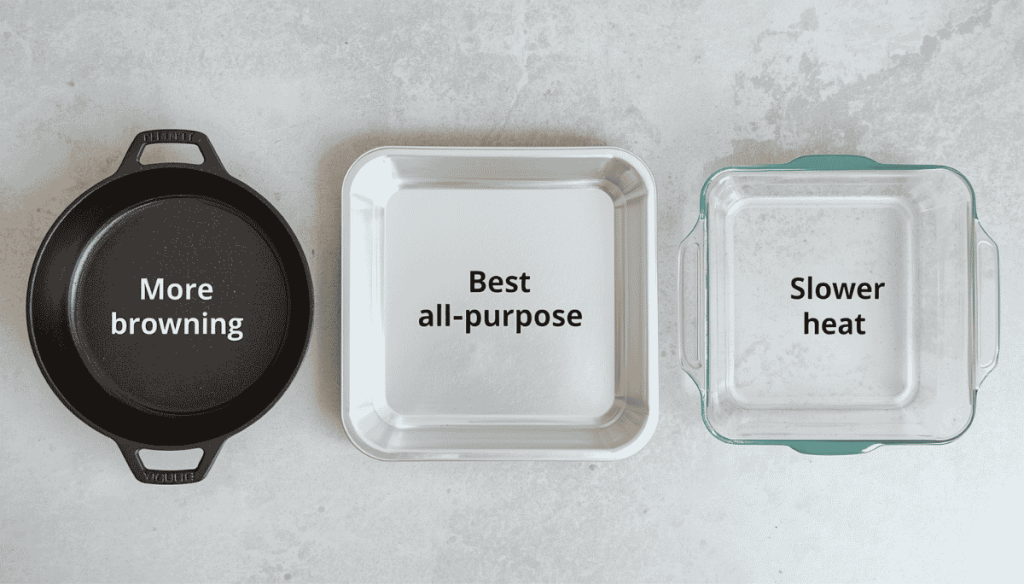
Dark-colored pans absorb more heat and produce darker bottoms. If browning is happening too fast on the underside, switch to a lighter-colored pan. Aluminum sheet pans are the most forgiving and the most versatile.
Never use pans with high sides in a toaster oven unless the oven is large enough to accommodate them. High sides trap moisture and prevent browning, which is exactly the opposite of what a toaster oven does well.
Glass bakeware works in a toaster oven but is slower to heat up and slower to release heat. It is fine for casseroles but not ideal for anything where crisping is the goal.
Thing 5: Preheating Still Matters — Just Takes Less Time
The compact size that makes a toaster oven fast does not eliminate the need for preheating. Skipping preheat is one of the most common reasons food comes out unevenly cooked. The first several minutes of the cooking time are spent getting the oven to temperature rather than actually cooking the food, which means timing goes off entirely.
Toaster ovens preheat much faster than full-size ovens — typically 5 to 8 minutes to reach 400°F, compared to 15 to 20 minutes for a standard oven. Many models have an indicator light or a beep that signals when preheat is done. If the oven does not have this feature, a simple rule is to set a 5-minute timer after turning it on and wait before putting food in.
The one case where skipping preheat is genuinely fine: toast. Toasting bread starts working from the moment the elements heat up, and the browning is usually even regardless of starting temperature. For everything else — baked goods, vegetables, proteins, frozen foods — always preheat
Thing 6: Learn the Toast Setting Separate From Everything Else
The toast function on a toaster oven operates differently from the bake function, and many new users do not realize this. In bake mode, the oven cycles its elements on and off to maintain a target temperature. In toast mode, the elements stay on at full power continuously until the timer goes off — which is why toast browns faster and more intensely than baked items at the same temperature.
Most toaster ovens use a shade dial for the toast function — a range from light to dark. The shade setting controls time, not temperature. The lightest setting runs the elements for the shortest time; the darkest runs them longest.
A few things worth knowing about the toast function:
Different breads toast at different rates. Dense, thick bread like sourdough needs more time than sandwich bread. Bagels, especially if fresh, may need to be set darker than expected because the dense crumb holds moisture that slows browning.
If toast is coming out unevenly — darker on one side than the other — rotate the rack position or flip the bread halfway through. This is normal for most toaster ovens and is not a defect; it is a result of element placement.
Frozen bread toasts directly from frozen — no thawing needed. Use one shade setting darker than usual.
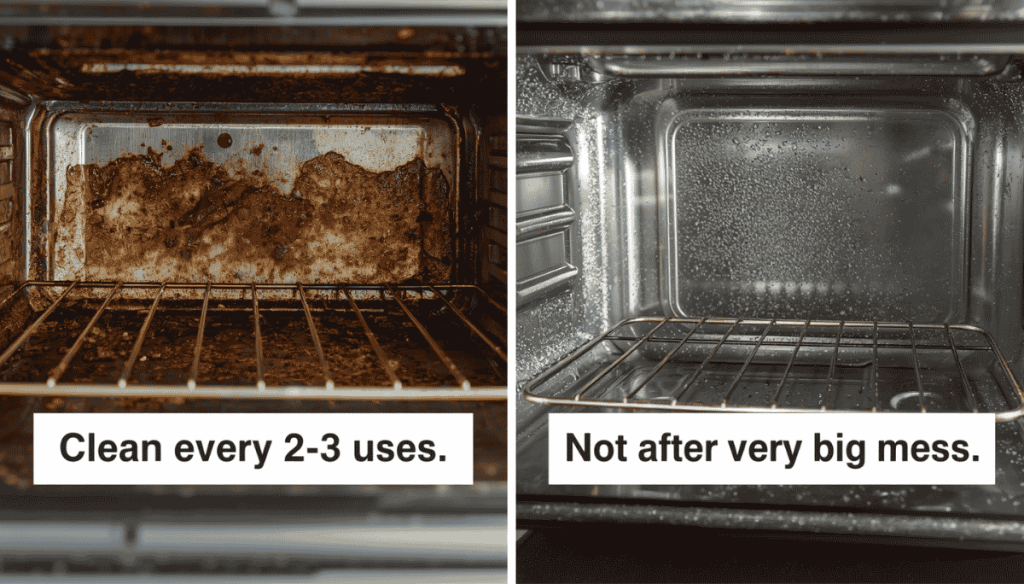
Thing 7: Clean It After the First Few Uses — Not After the First Mess
The heating elements in a toaster oven are close to where the food sits. Every drip of fat, every crumb that falls, every splash from a dish gets baked onto the walls, the floor, and occasionally the elements themselves on the next use. This creates smoke, smell, and over time, a carbon buildup that affects the flavor of food.
The easiest cleaning habit to build is a light wipe-down after every two or three uses — before any serious buildup has a chance to form. A damp cloth on the interior walls and a quick crumb tray empty takes less than three minutes when done regularly. The same task takes twenty minutes and a lot more effort once grease has baked on in layers.
A few cleaning rules specific to toaster ovens:
Never use abrasive scrubbers on the interior walls. Most toaster ovens have a non-stick or painted interior coating that scratches easily and begins to flake once damaged.
The crumb tray slides out from the bottom on most models. Empty it after every two or three uses. A crumb tray full of dry crumbs is a fire hazard — it is sitting directly below the heating elements.
The glass door can be cleaned with a standard glass cleaner or diluted white vinegar. Baked-on grease on the inside of the glass door is best handled by letting it soak with a damp cloth placed against the surface for ten minutes before wiping.
Never submerge a toaster oven in water or put it in a dishwasher. The interior can be wiped down with a damp cloth only — no soaking, no steam cleaning.
A Quick Note on Which Rack Position to Use for Common Foods
For quick reference, here is a practical guide based on testing common foods in a standard countertop toaster oven:
Middle rack: Baked chicken thighs, roasted vegetables, reheated pizza, frozen meals, cookies, small cakes, casseroles, baked potatoes.
Top rack (final few minutes only): Gratins and baked pasta to brown the cheese, open-face sandwiches with melted toppings, anything that is fully cooked but needs surface color.
Top rack (full cook): Cheese toast, garlic bread, open-face melts where the cooking time is short and browning is the goal.
Bottom rack: Thin-crust pizza from frozen, flatbreads, anything where a crispier bottom is needed and the top is already coloring well.
What This Article Fits Into — If You're Building Your Toaster Oven Knowledge
This guide is designed for people who are just getting started. If the goal is to go deeper — understanding which toaster oven models are worth buying, how they stack up against dedicated air fryers, or whether a compact model is the right choice for a small apartment — those questions are covered in the full best toaster ovens guide on Provenpathly, which covers seven tested models with honest rankings. There is also a dedicated look at toaster oven versus air fryer comparisons for anyone trying to decide between the two before buying.
For people who already own a model and want to get more from it, a toaster oven cooking times and temperature chart is the most practical reference to have saved — it removes the guesswork from converting standard recipes for countertop use.
Frequently Asked Questions
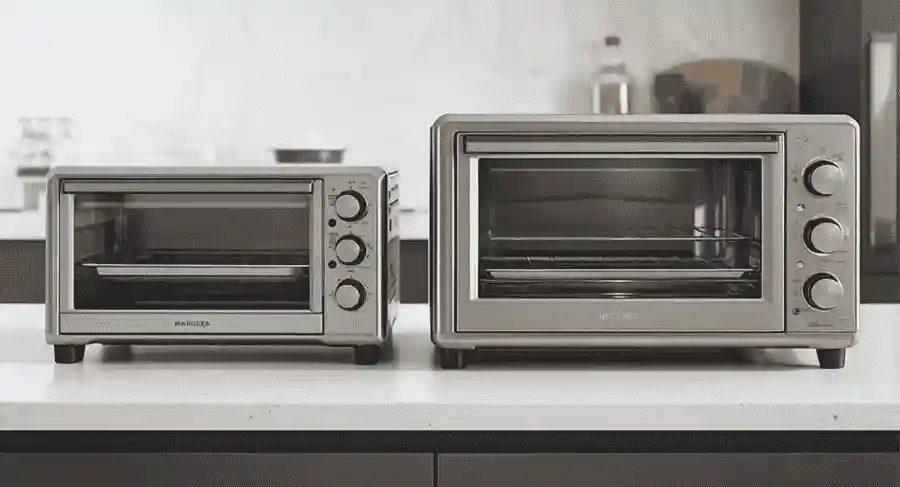
Can a toaster oven replace a regular oven for most cooking?
For single-person or two-person households, a full-size countertop toaster oven handles the vast majority of everyday cooking tasks — baking, roasting, reheating, broiling. The main limitation is volume: for large batches, a turkey, or a big baking project, a full-size oven is still necessary. For daily cooking, a quality countertop model is genuinely sufficient.
Is it safe to leave a toaster oven unattended while cooking?
A toaster oven is not a set-and-forget appliance in the same way a slow cooker is. Because the elements are close to the food and temperatures can run hot, it is best practice to remain nearby when cooking — especially during the first few uses with a new model or a new recipe. Once a person knows how a specific oven behaves, brief periods away are fine, but it should not be left on and unmonitored for extended periods.
Why does my toaster oven smoke?
The most common causes of smoking are crumbs or grease on the crumb tray, fat dripping onto the heating elements, or residue from the initial factory coating on a new unit. Regular crumb tray cleaning and using a pan for anything that releases fat solves most smoking issues. Persistent smoking after cleaning may indicate grease buildup on the heating elements themselves — professional cleaning or replacement may be needed.
Can aluminum foil be used in a toaster oven?
Yes, but only on the pan — never draped against the walls or covering the entire rack. Aluminum foil that touches the heating elements or the walls can cause arcing, damage the oven interior, or create a fire hazard. Used correctly on a baking pan, foil is fine and makes cleanup much easier.
How long does a toaster oven last?
A quality toaster oven from a reliable brand typically lasts five to ten years with regular use and proper cleaning. Lower-cost models tend to have shorter element lifespans. The most common failure point is the heating elements, which can be replaced in some models but not others.
Final Thoughts
A toaster oven is one of the most practical appliances in a kitchen once the first-time-user friction disappears. The burn-off, the rack position, the temperature adjustment, the right pan — none of it is complicated, but all of it matters. Getting these basics right in the first few uses sets the foundation for every meal that follows.
The learning curve is genuinely short. Most people find that after a week of regular use, the habits become automatic and the toaster oven becomes the default tool for cooking rather than the intimidating box on the counter.
Article tested and written based on hands-on use of multiple countertop toaster oven models in a home kitchen setting. For product recommendations and ranked reviews, see the best toaster ovens guide on Provenpathly.